Barcode Requirements on Product Labels in South Africa
A barcode looks like a small detail on a label. It isn't. Get the size, symbology, or quiet zone wrong, and a product can sit in a warehouse instead of on a shelf. For brand managers and product developers working to a launch date, that's an expensive lesson to learn after the print run is done.
This guide covers the barcode requirements on product labels in South Africa that trip up even experienced teams: registration, sizing, placement, and the print-side mistakes that cause scan failures. It's written from the pre-press bench, not a compliance manual, so you can act on it before your next job goes to print.
Why Barcode Requirements on Product Labels Matter in South Africa
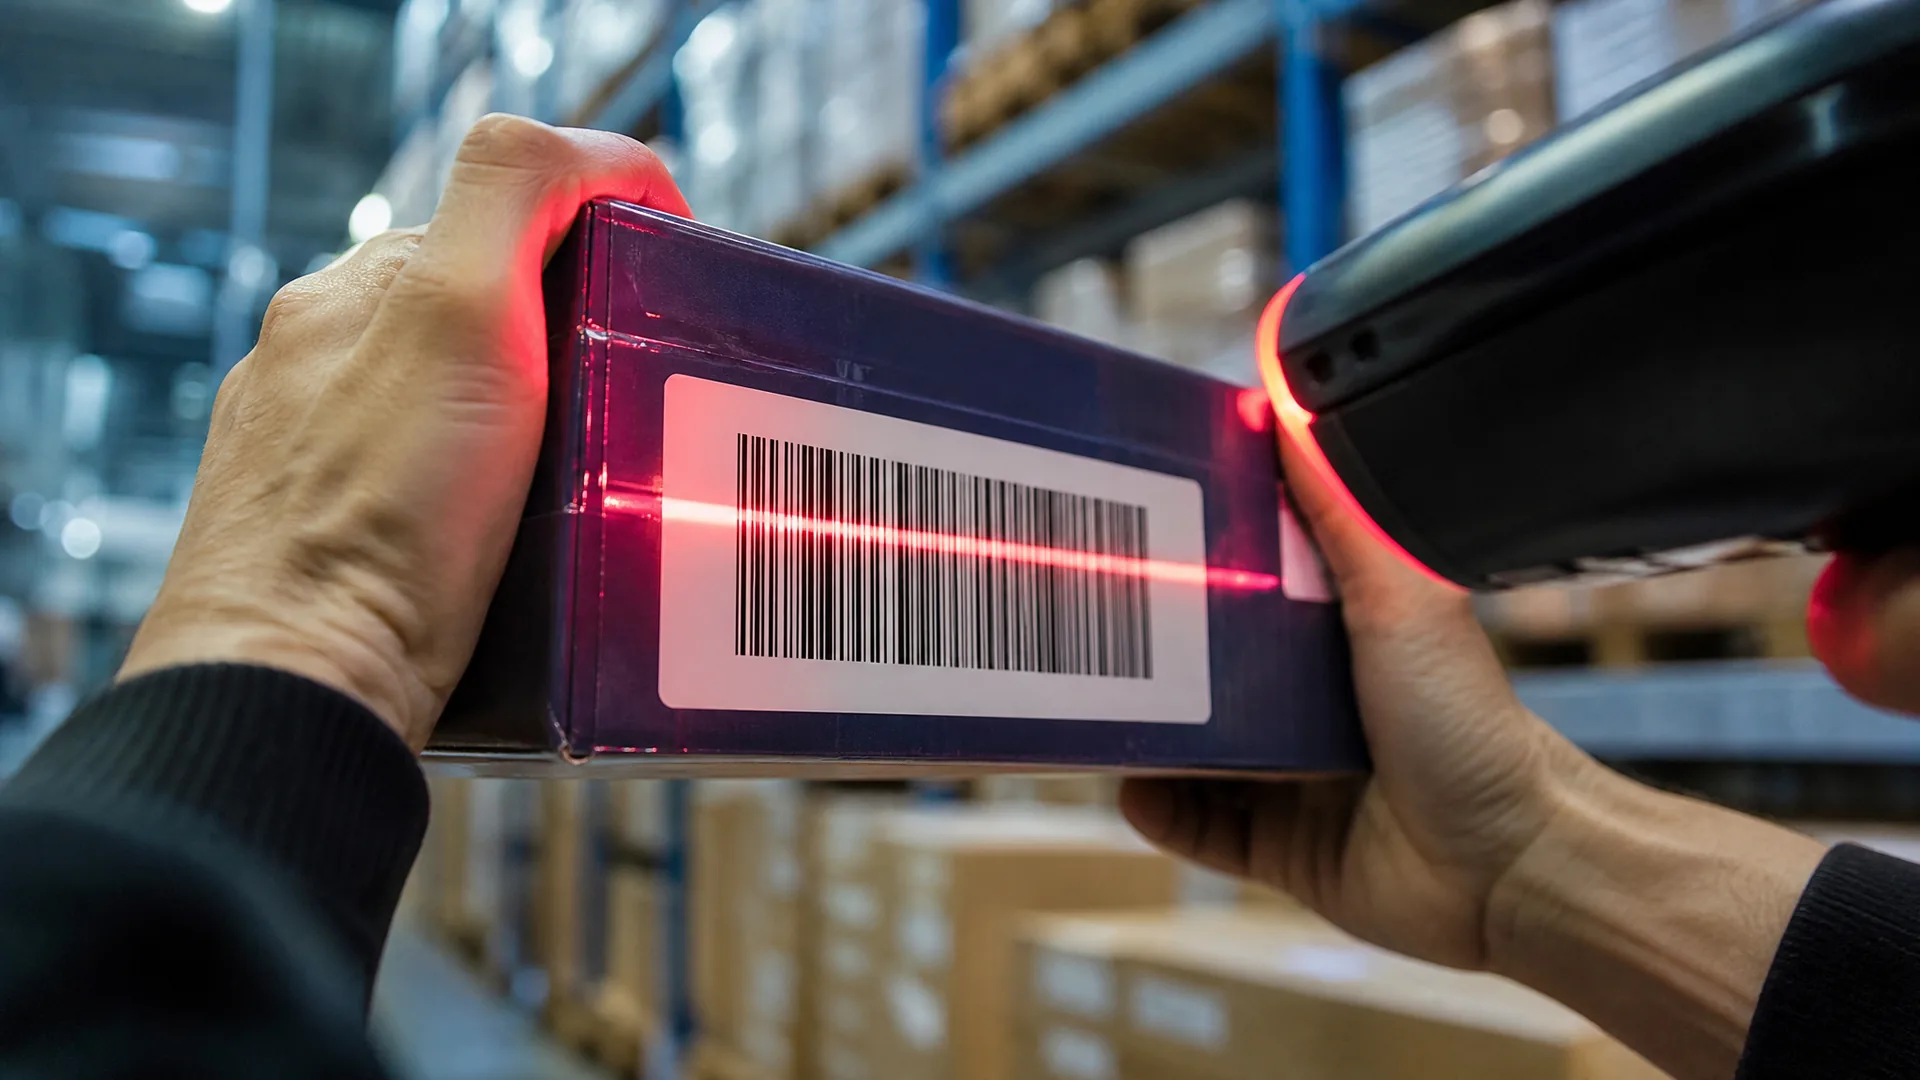
Retailers rely on a barcode to move stock through every stage of the supply chain. It's scanned at goods-in, on the shelf, at the till, and often again during stocktakes. If it doesn't read cleanly, that chain breaks.
For a growing brand, the consequences aren't theoretical. A barcode that fails a scan test at goods-in can mean a retailer refuses the delivery outright. Stock then sits in a truck or a warehouse instead of generating sales.
What happens when a barcode fails at retail
Major SA grocery chains typically reject or delist products at goods-in if barcodes fail a scan test. It's a standard part of receiving new stock, and it's non-negotiable. This is exactly why barcode compliance needs checking before a full print run, not discovering it after one.
The knock-on costs add up quickly. A rejected delivery means a delayed listing, a scramble to reprint labels, and in some cases a missed shelf date that a marketing campaign was built around. For a product launch with a fixed retail slot, that delay can cost more than the reprint itself.
This is also why barcode compliance deserves the same attention as artwork colour or stock selection. It belongs on the pre-press checklist, not as an afterthought once the design is signed off.
GS1 Barcode South Africa: Registration and Numbering Explained
Every retail barcode starts with a number, and that number needs to be issued through a recognised system. In South Africa, that system is run by GS1, the global standards body responsible for allocating unique product identifiers.
A GS1 barcode in South Africa isn't something you can generate for free online and expect a retailer to accept. Retailers check that the number range belongs to your business. A duplicated or unregistered code creates confusion across their entire stock system.
How GS1 barcode registration works for a new product
When a business registers with GS1 South Africa, it's issued a company prefix. That prefix forms the base of every product number the business creates going forward.
From there, each individual product, and often each pack size or variant of that product, gets its own unique number built from that prefix. This becomes the Global Trade Item Number, or GTIN, encoded into the barcode on the label.
Registration is a step that needs to happen early. Waiting until artwork is finished to sort out a barcode number is a common way to add days, sometimes weeks, to a launch timeline. Building it into a proper product launch timeline avoids that scramble.
EAN barcode label South Africa: the standard symbology retailers expect
South African retailers work almost exclusively with EAN-13 symbology, sometimes referred to interchangeably with UPC in international contexts. EAN-13 is the 13-digit barcode format seen on most retail products worldwide, and it's what point-of-sale systems here are built to read.
Some categories or export markets call for different formats. But for local retail listings, EAN-13 is the default. If your product will also sell overseas, confirm symbology requirements for that market before artwork is finalised. Switching later means new numbers and new labels.
Barcode Size Requirements and Quiet Zones on Labels
Barcode size gets treated as a minor design variable far more often than it should. In reality, there's a fairly narrow working range, and pack designs often push against its limits without anyone noticing until the label is printed.
Minimum and maximum barcode size for scanning
EAN-13 barcodes have a nominal size, and a defined range of scaling above and below that nominal, usually described as a percentage. Scale a barcode down too far to fit a small label, and the bars become too fine for a standard scanner to distinguish reliably. Scale it up too far for a large pack, and it can extend beyond the space the label design allows, or beyond what some scanners are configured to read at speed.
The practical rule brand managers should hold onto: a barcode isn't just another graphic element that can be freely resized to fit whatever space is left on the artwork. It has a defined minimum and maximum, and a design brief should specify where in that range the barcode sits.
Why quiet zones are non-negotiable
The quiet zone is the blank margin either side of the barcode's bars, free of any text, graphics, or pattern. Scanners use that clear space to identify where the code starts and ends.
Crowd that margin with a logo, a border, or even a background colour change, and the scanner can misread the code or fail to read it at all. It's one of the most common causes of scan failure, and one of the easiest to miss during design review because the barcode itself looks fine to the eye.
Quiet zone requirements are a fixed part of the EAN-13 specification, not a design preference. Treating them as flexible is how compliant-looking barcodes end up failing at the till.
Barcode Placement on Labels: Best Practice for Retail Barcode Requirements
Retail barcode requirements aren't only about the code itself. Where it sits on the pack matters just as much, because scanners need a flat, unobstructed surface to read reliably.
Where to position the barcode on different pack shapes
On flat, rectangular labels, placement is straightforward: keep the barcode away from edges, seams, and fold lines, and give it its own clear panel.
Curved or cylindrical packs are where placement gets harder. A barcode wrapped tightly around a narrow curve can distort just enough to fail a scan, particularly on smaller bottles or tubes. Where possible, position the code on the flattest available section of the pack, and avoid placing it across a seam or a closure.
Small labels present a different problem: there often isn't much room to hit both the minimum barcode size and full quiet zones. In these cases, plan the label layout around the barcode's space requirements from the start, rather than fitting the barcode into whatever room is left after the rest of the design is placed. This is exactly the kind of detail worth locking down when briefing your printer with full label specifications, so placement is agreed before artwork goes to final proof.
Label Barcode Compliance: Common Mistakes Brand Managers Make
Most barcode failures Gateway sees at pre-press stage trace back to a handful of repeat mistakes. None of them are complicated to avoid once you know to look for them.
They're also a small piece of a much larger pattern. Barcode errors are one of several common packaging mistakes FMCG brands make when moving from design to print, usually because a step that seems minor gets skipped under time pressure.
Resizing artwork without checking the barcode
A common failure pattern: a brand resizes packaging artwork for a new SKU but scales the barcode down proportionally with it. That shrinks it below the minimum readable size and breaks the quiet zone margins. It happens most often when a pack range is extended, a smaller variant is added, and the original artwork file is simply scaled to fit.
The fix is straightforward in principle: resize the barcode independently, keep it within its allowed scaling range, and check it again after any layout change. Don't assume it's still correct.
Wrong colour contrast or finish over the barcode
A scanner needs strong contrast between the bars and the background, typically dark bars on a light background. Reversing that contrast, printing bars in a colour with poor contrast, or applying a gloss or metallic finish directly over the barcode panel can all reduce scannability, even when the code looks perfectly clear on screen or in a printed proof under good lighting.
This is a finish and substrate issue as much as a design one. It's easy to miss when reviewing artwork on a monitor rather than a printed sample under retail lighting.
Getting Barcode Compliance Right Before You Print
Barcode compliance isn't something to check once artwork is approved. It needs to be part of the pre-press process itself, alongside colour, die-lines, and stock checks.
A practical pre-print checklist covers:
- Confirming the GTIN is correctly registered and encoded
- Verifying EAN-13 symbology and size against the allowed range
- Checking quiet zones are fully clear on all sides
- Reviewing placement against pack shape, seams, and curves
- Testing contrast and finish over the barcode panel
- Running an actual scan test on a printed proof, not just a screen view
Gateway's pre-press team checks barcode scannability and quiet zones on every label proof before print. That catches sizing and placement errors that would otherwise cause retailer rejections or scanning failures at till point. For brands running print jobs from around 2,000 to 50,000 units, that check matters more, not less. A barcode error discovered after the fact means reprinting the entire run rather than a small batch.
This kind of check fits naturally alongside a packaging mockup service to catch errors before print, and it's just as relevant whether you're printing standard custom printed product labels or working within stricter categories, such as label requirements for nutraceutical products.
Before your next print run, get your artwork and barcode checked as part of pre-press. It's a small step that prevents a costly one: a rejected delivery, a delayed listing, or a full reprint that a five-minute scan test could have caught first.